Turning Neovim into an advanced IDE
Pre-requisites
As specified on the NvChad site you need to ensure the system meets the following requirements:
- Neovim 0.8.3.
- Nerd Font Set it in your terminal emulator.
- Make sure the nerd font you set doesn't end with Mono
- Example: Iosevka Nerd Font and not ~~Iosevka Nerd Font Mono~~
- Ripgrep is required for grep searching with Telescope (OPTIONAL).
- GCC
This is actually not a real "installation" but rather writing a custom Neovim configuration for our user.
Performing a Clean Installation
As specified in the requirements, installing this new configuration on top of a previous one can create unfixable problems. A clean installation is recommended.
Preliminary Operations
If you have used the Neovim installation before, it will have created three folders in which to write your files, which are:
~/.config/nvim
~/.local/share/nvim
~/.cache/nvim
To perform a clean installation of the configuration, we need to back up the previous one first:
mkdir ~/backup_nvim
cp -r ~/.config/nvim ~/backup_nvim
cp -r ~/.local/share/nvim ~/backup_nvim
cp -r ~/.cache/nvim ~/backup_nvim
And then we delete all previous configurations and files:
rm -rf ~/.config/nvim
rm -rf ~/.local/share/nvim
rm -rf ~/.cache/nvim
Now that we have cleaned up, we can move on to installing NvChad.
To do this, simply run the following command from any location within your home directory:
git clone https://github.com/NvChad/NvChad ~/.config/nvim --depth 1 && nvim
The first part of the command clones the NvChad repository to the ~/.config/nvim folder; this is Neovim's default path for searching the user configuration. The --depth 1 option instructs git to clone only the repository set as "default" on GitHub.
Once the cloning process is finished in the second part of the command, the Neovim executable (nvim) is called, which upon finding a configuration folder will start importing the configurations encountered in the init.lua files of it in a predefined order.
Before starting the bootstrap, the installation will offer us the installation of a base structure (template chadrc) for our further customizations:
Do you want to install chadrc template? (y/n):
Although choosing to install the recommended structure is not mandatory, it is definitely recommended for anyone new to this Editor. Current users of NvChad who already have a custom folder will be able to continue using it after making the necessary changes.
The structure created by the template will also be used in this guide for developing the configuration to be used for writing documents in Markdown.
For those who want to learn more about this topic before starting the installation, they can consult the dedicated page Template Chadrc.
The page contains information about the structure of the folder that will be created, the functions of related files, and other useful information for customizing NvChad.
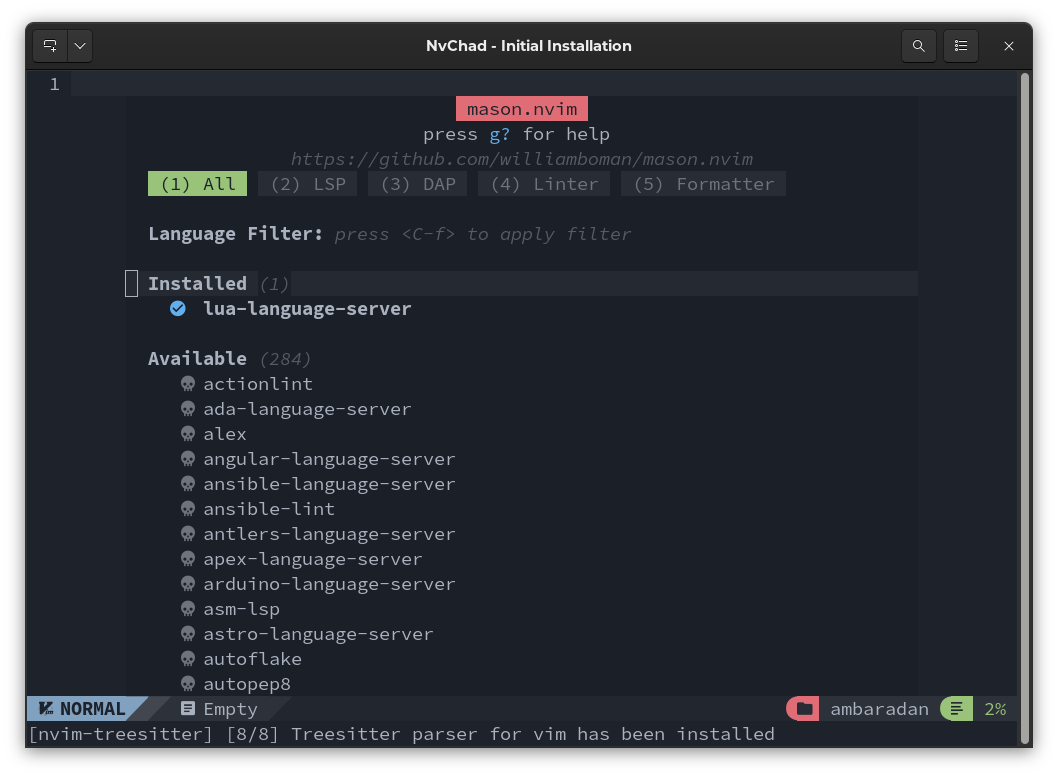
At this point the downloading and configuration of the basic plugins and if we have chosen to install the template as well the installation of the configured language server will begin. Once the process is complete, we will have our Editor ready to use.

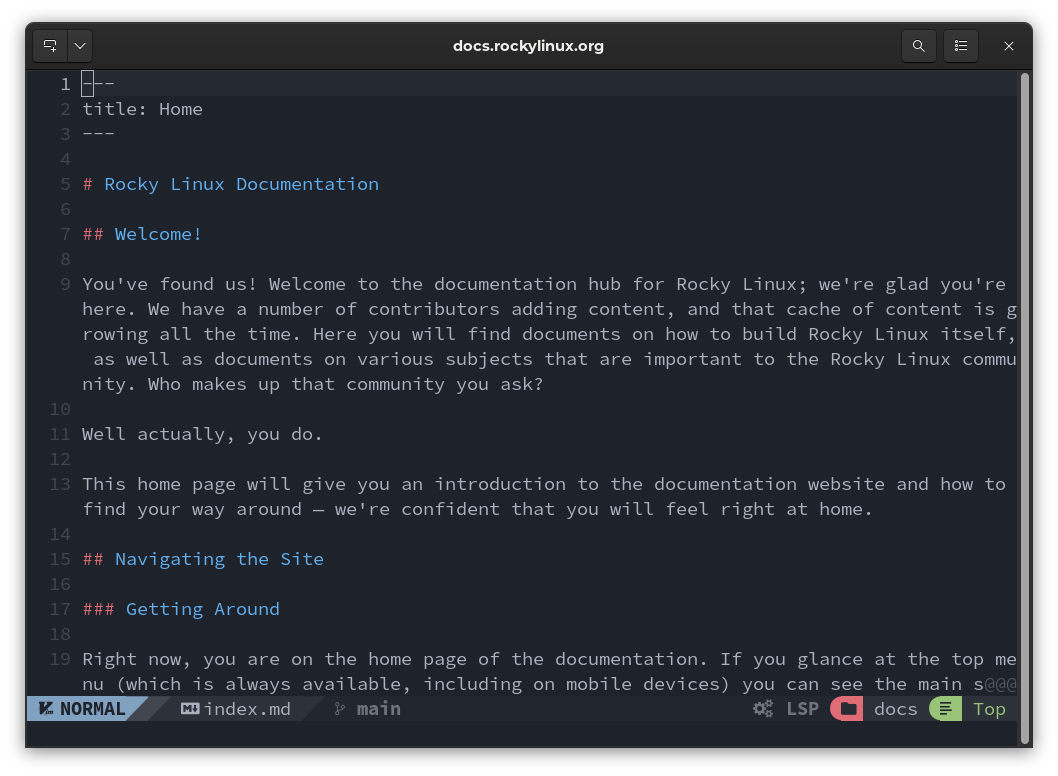
As can be seen from the screenshot below, thanks to the configuration changes made, the editor has completely changed in appearance from the basic version of Neovim. It should be remembered, however, that although the configuration of NvChad completely transforms the editor, the base remains Neovim.

Configuration Structure
Let us now go on to analyze the structure that the configuration created, the structure is as follows:
.config/nvim
├── init.lua
├── lazy-lock.json
├── LICENSE
└── lua
    ├── core
    │   ├── bootstrap.lua
    │   ├── default_config.lua
    │   ├── init.lua
    │   ├── mappings.lua
    │   └── utils.lua
    └── plugins
        ├── configs
        │   ├── cmp.lua
        │   ├── lazy_nvim.lua
        │   ├── lspconfig.lua
        │   ├── mason.lua
        │   ├── nvimtree.lua
        │   ├── others.lua
        │   ├── telescope.lua
        │   ├── treesitter.lua
        │   └── whichkey.lua
        └── init.lua
And if we chose to also install the template chadrc we will also have the nvim/lua/custom folder with the following structure:
.config/nvim/lua/custom/
├── chadrc.lua
├── configs
│   ├── lspconfig.lua
│   ├── null-ls.lua
│   └── overrides.lua
├── highlights.lua
├── init.lua
├── mappings.lua
└── plugins.lua
The first file we encounter is the init.lua file which initializes the configuration by inserting the lua/core folder and lua/core/utils.lua (and if present, the lua/custom/init.lua) files into the nvim tree. Runs the bootstrap of lazy.nvim (the plugin manager) and once finished initialize the plugins folder.
In particular, the load_mappings() function is called for loading keyboard shortcuts. In addition, the gen_chadrc_template() function provides the subroutine for creating the custom folder.
require "core"

local custom_init_path = vim.api.nvim_get_runtime_file("lua/custom/init.lua", false)[1]

if custom_init_path then
  dofile(custom_init_path)
end

require("core.utils").load_mappings()

local lazypath = vim.fn.stdpath "data" .. "/lazy/lazy.nvim"

-- bootstrap lazy.nvim!
if not vim.loop.fs_stat(lazypath) then
  require("core.bootstrap").gen_chadrc_template()
  require("core.bootstrap").lazy(lazypath)
end

vim.opt.rtp:prepend(lazypath)
require "plugins"

dofile(vim.g.base46_cache .. "defaults")
Inclusion of the core folder also results in the inclusion of the core/init.lua file, which overrides some Neovim interface configurations and prepares for buffer management.
As we can see, each init.lua file is included following a well-established order. This is used to selectively override the various options from the basic settings. Broadly speaking, we can say that init.lua files have the functions to load global options, autocmds, or anything else.
This is the call that returns basic command mappings:
require("core.utils").load_mappings()
This sets four main keys from which, in association with other keys, commands can be launched. The main keys are:
- C = CTRL
- leader = SPACE
- A = ALT
- S = SHIFT
Note
We will refer to these key mappings several times throughout these documents.
The default mapping is contained in core/mapping.lua but can be extended with other custom commands using its own mappings.lua.
Some examples of the standard mapping are:
<space>th to change the theme
<CTRL-n> to open nvimtree
<ALT-i> to open a terminal in a floating tab
There are many combinations pre-set for you, and they cover all the uses of NvChad. It is worth pausing to analyze the key mappings before starting to use your NvChad-configured instance of Neovim.
Continuing with the structural analysis, we find the lua/plugins folder, which contains the setup of the built-in plugins and their configurations. The main plugins in the configuration will be described in the next section. As we can see, the core/plugins folder also contains an init.lua file, which is used here for the installation and subsequent compilation of the plugins.
Finally, we find the lazy-lock.json file. This file allows us to synchronize the configuration of NvChad plugins across multiple workstations, so that we have the same functionality on all the workstations used. Its function will be better explained in the section dedicated to the plugins manager.
Author: Franco Colussi
Contributors: Steven Spencer, Ganna Zhyrnova